Convert an Excel File
![]()
DataLog has a conversion feature that makes it possible to import Excel spreadsheet sales data to DataLog.
To begin, note the location of the spreadsheet containing the sale data to be converted.
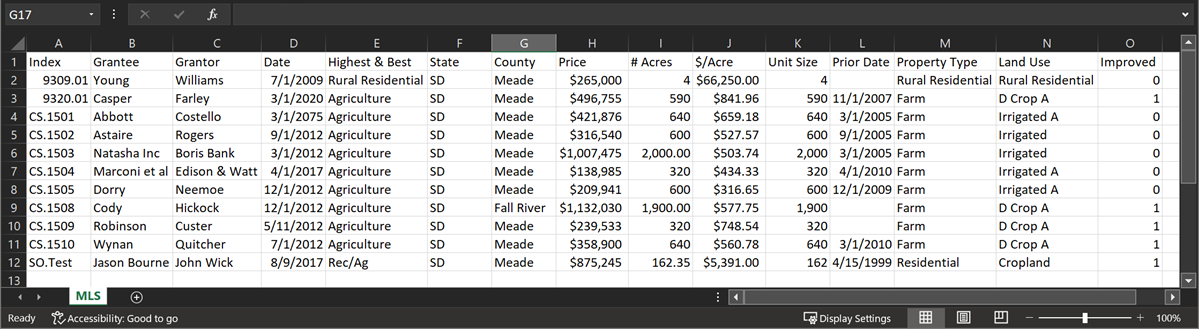
The screen shot below shows a typical example of sales data to be converted; a header row of labels for the various columns of sale data is required.
A complete list of fields can be found at https://www.agwarefiles.com/uaar/tools/Export%20Attachments.zip.
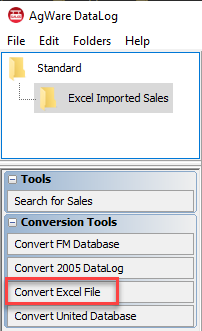
Next, open DataLog and click the Convert Excel File option under Conversion Tools.
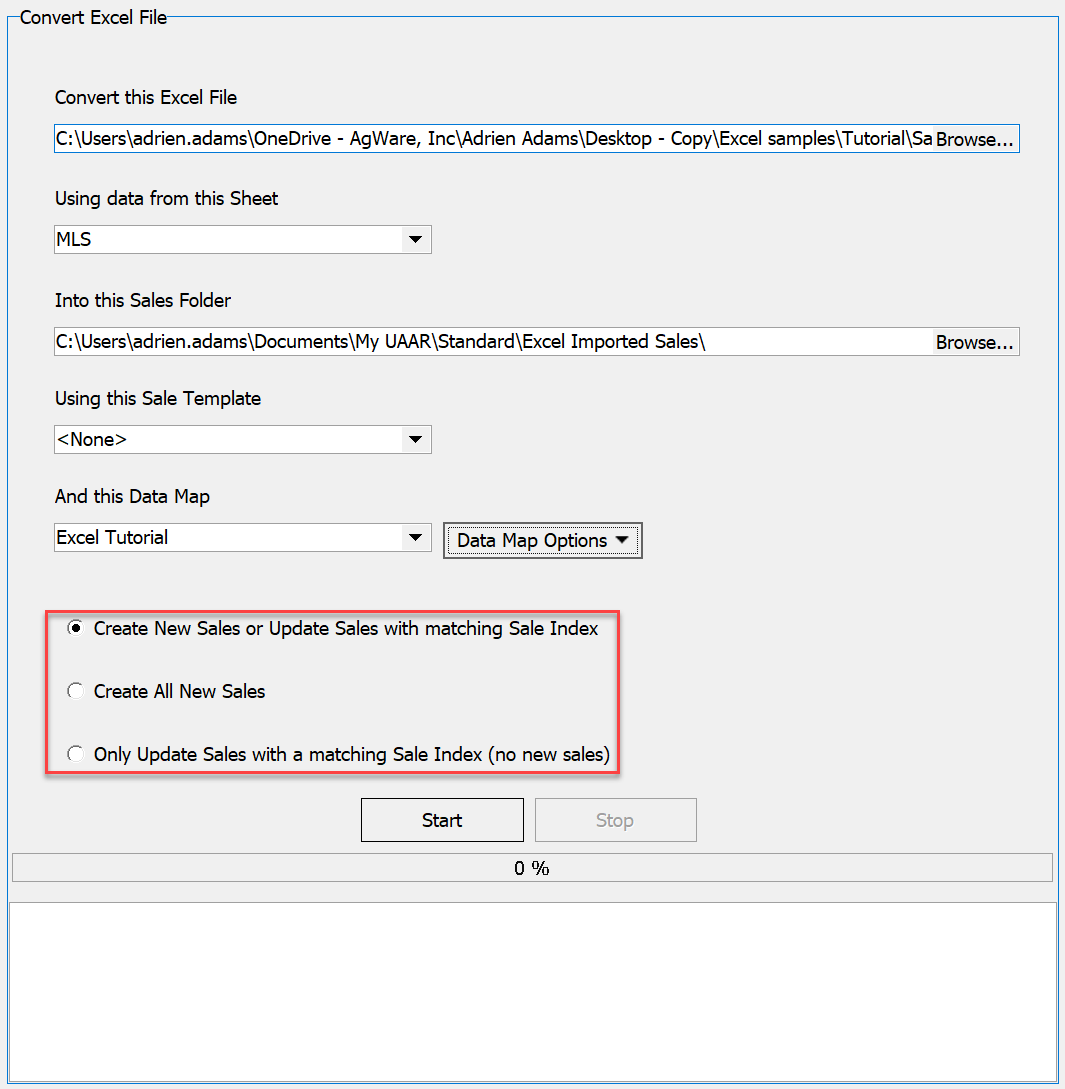
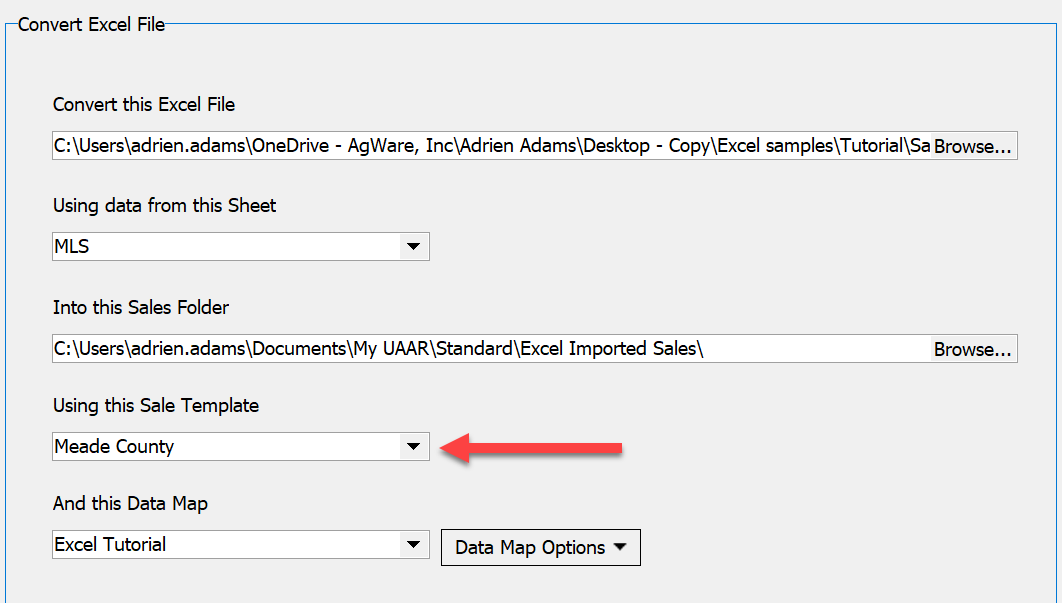
A dialog box opens where several choices must be made.
Select both the Excel file that is to be converted and click open.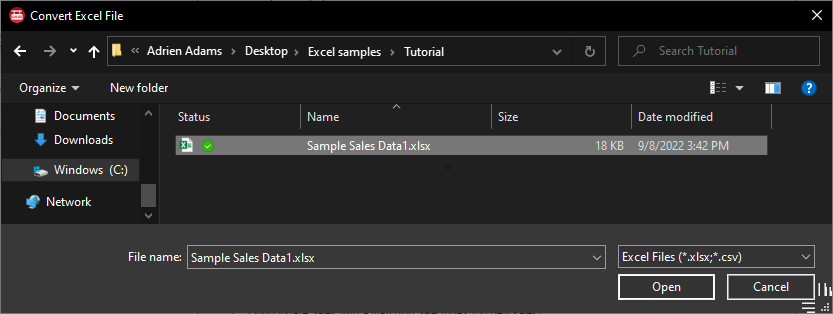
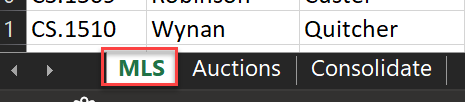
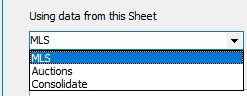
Choose what sheet the sale data is coming from. The first sheet is populated by default. You can change it by clicking the dropdown.
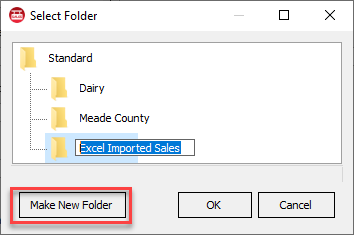
To choose the folder where the data will be transferred into DataLog. Where the conversion tool displays "Into this sales folder, click Browse. A list of your current folders is displayed. Choose the folder destination or make a new folder.
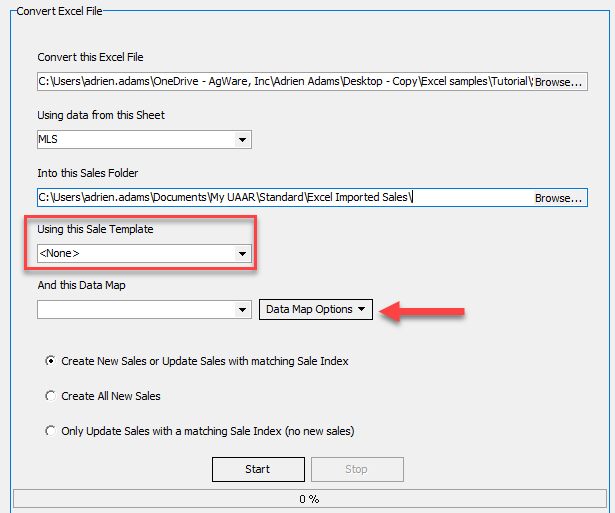
The Convert Excel File window will look something like the example below.
If there is an existing sale template it can be used by clicking the dropdown under Using this Sale Template and select the desired template.
If a Data Map has not already been created, nothing will be listed in that list.
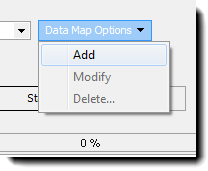
To create a data map, click the Data Map Options button.
There are three options; choose Add, Modify and Delete.
Clicking Add opens a data map dialog. The excel spreadsheet must have a header row.
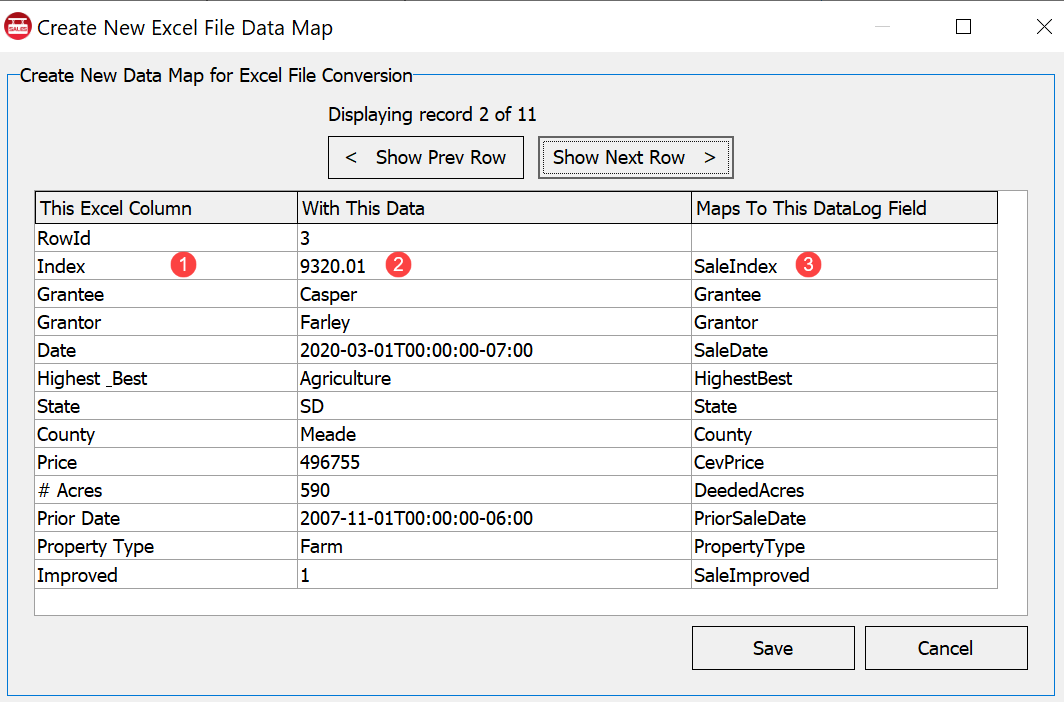
1. The column header in the spreadsheet
2. The data contained on the cell.
3. Maps To This DataLog Field will try to automatically fill with corresponding fields’ contents from the DataLog sale sheet.
Any of the fields can be changed if DataLog does not select the correct field.
Click directly in the field to see the drop down list; it is typing intuitive.
For this example # Acres is empty; the correct match for the DataLog field name is DeededAcres.
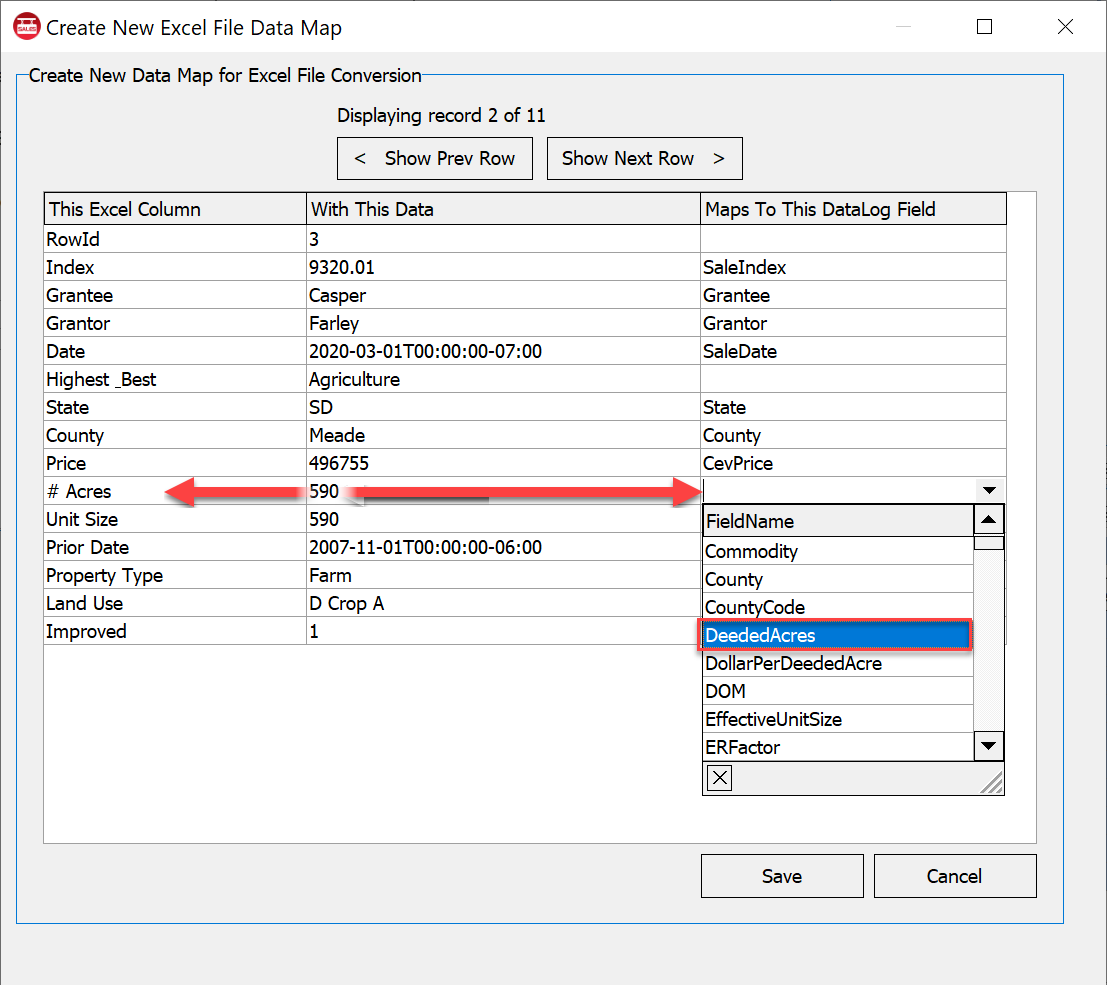
The column labeled With This Data is empty for the moment.
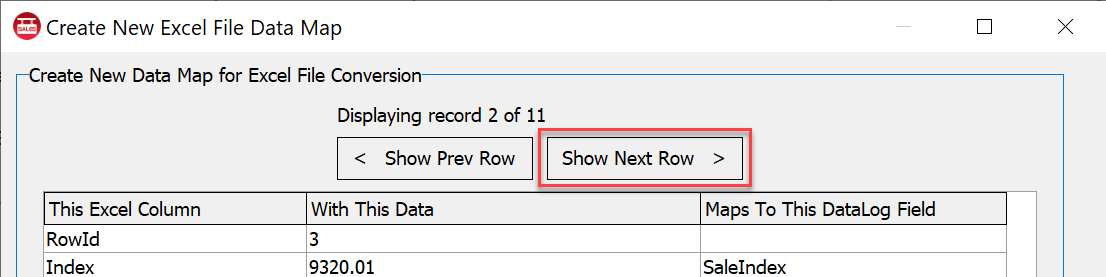
Once all of the matches are set, click the Show Next Row button (shown below) to display the next row of data from the Excel spreadsheet.
Confirm that the matches are correct and that the data displayed make sense.
Make corrections as needed; click Save.
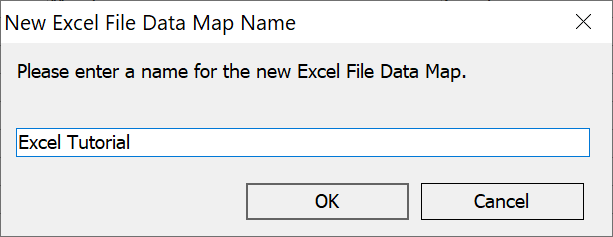
Name the Data Map; it will be available for future conversions in the map list.
There are 3 options for import (Each one is self explanatory). Choose the preferred option and click the Start button.
A preview window will open to display how the sale sheet actually lines up with a sample of data from the spreadsheet.
Select a view from the drop-down list.
Scroll to view the entire page.
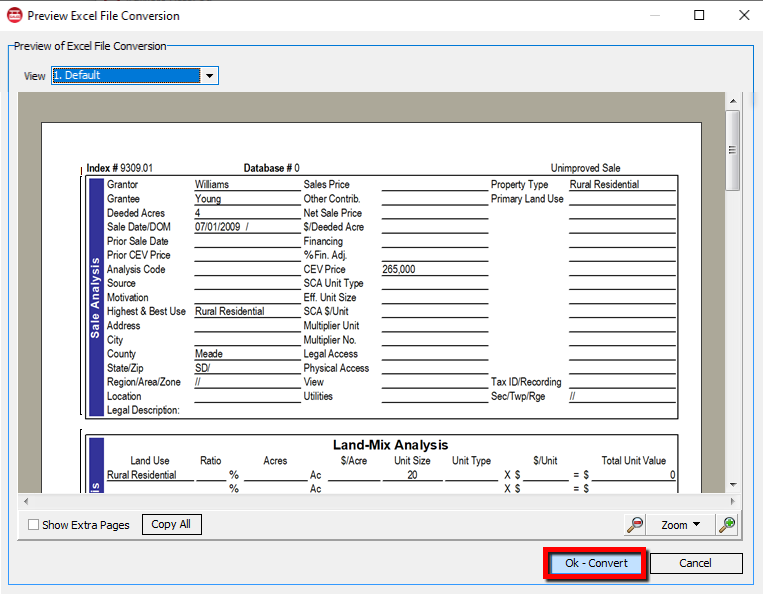
If acceptable, click OK-Convert.
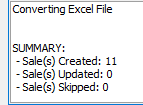
DataLog will display a message that the conversion was completed.
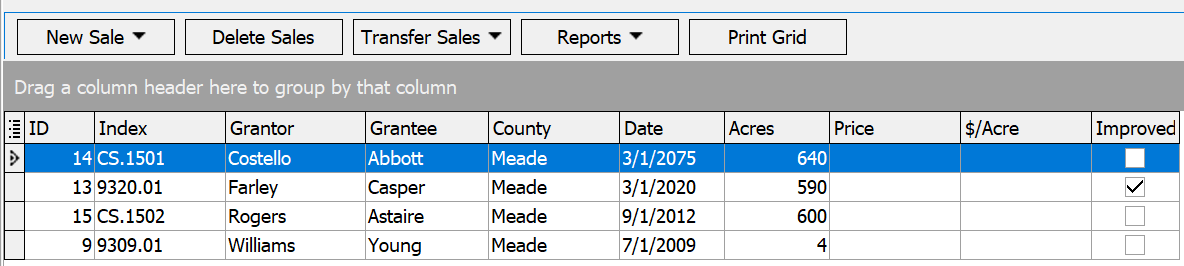
Confirm that the spreadsheet data have been converted by checking the destination folder in DataLog.
Regarding Sale Templates
A sale template may be selected as desired.
Sale templates created by the user will be available as selections in the drop-down window seen at the start of the conversion process.
- Converting Sales That Have Attachments
In DataLog v 4.0 and later, it is possible to convert excel sales to include files to be attached to the sales.
There are several absolute conditions that must be met in addition to the basic steps outlined above.
Namely: - The Excel spreadsheet sale data must include an index number AND
- The files to be attached for converted sales MUST be in the SAME folder as the spreadsheet that is undergoing conversion AND
- The attachments MUST contain the sale’s index number as the prefix for their file name.
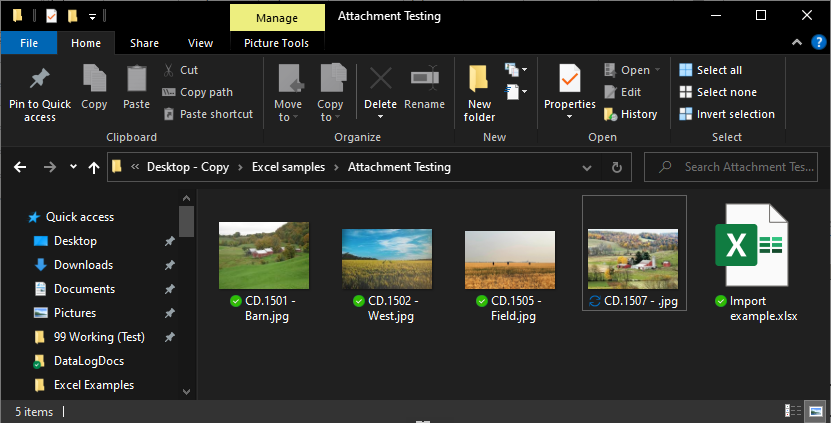
The Attachments all begin with a valid index number that corresponds to a sale in the spreadsheet.
This is how DataLog will know to attach it to the sale during the conversion process.