Photo Pages
![]()
It is possible to include images as part of a sale that is transferred into a ClickForms report. To do this, scroll to the photo page section in the sale editing window. Supported file types include jpgs and PDFs.
There are six layouts from which to choose; the first five are for jpgs, the last one is strictly for PDFs. Here the term exhibit refers to a single large/full-page layout, with no editable comment block.
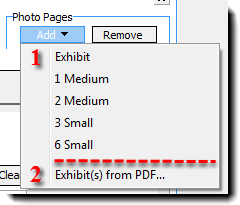
There are 2 exhibit (full-page) layouts identified above. 1 is for a single jpg; 2 is for PDFs only.
In addition to the Exhibit layout option for photos, there are four additional layouts for photos.
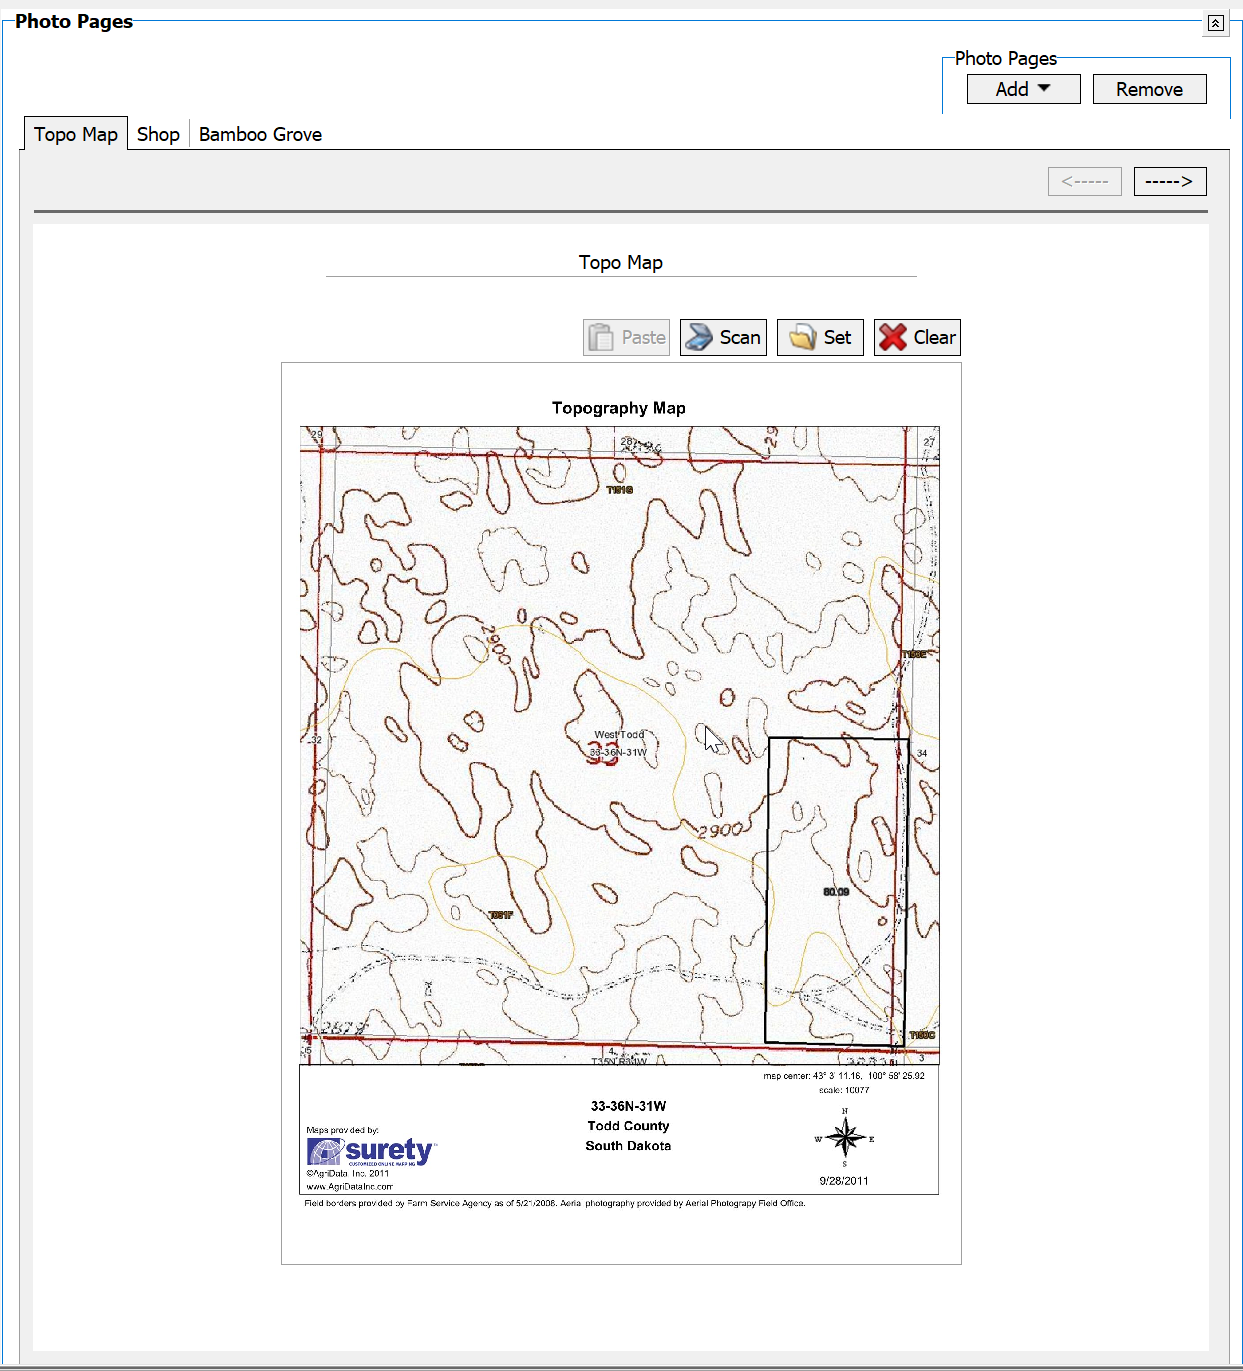
There is a title cell available at the top of a photo page; this will show on the page tab.
Each photo in a photo page has a corresponding comment box with the exception of the exhibit layout for a photo; it is a single large photo only.
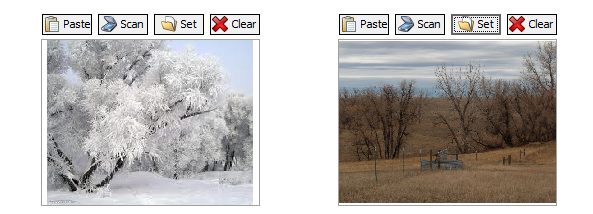
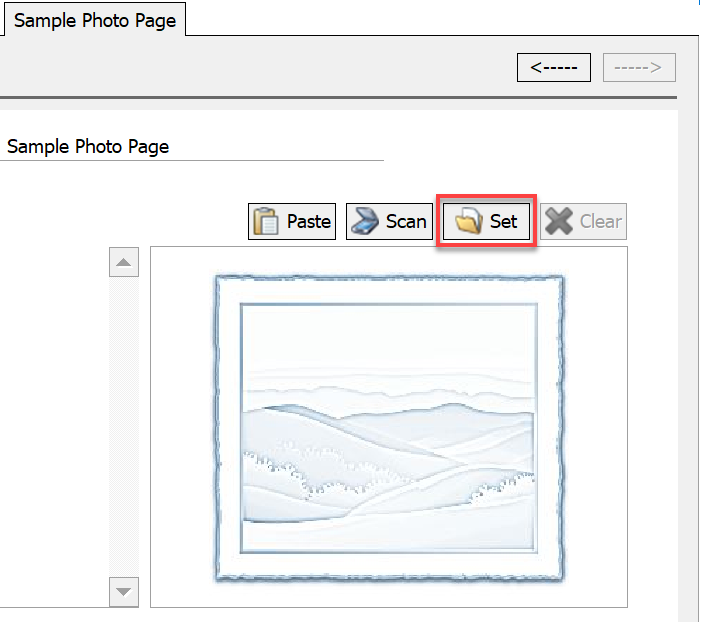
To insert an image into, click either the Set Picture, Paste, or Scan tool button.
Options include the ability to:
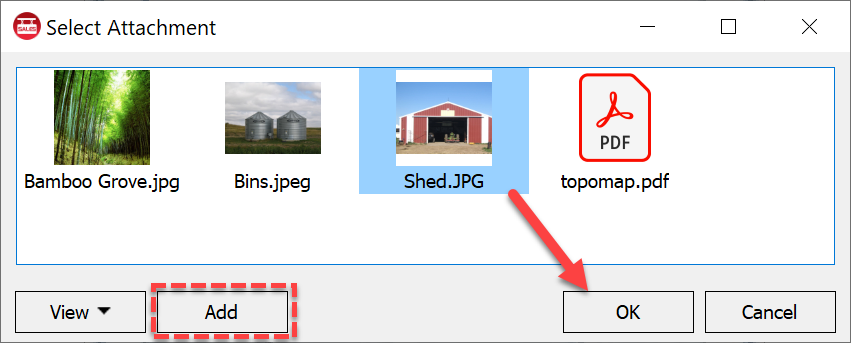
- Select a displayed image from the attachments window and click OK, or attach a new one via the directory option that opens when the Add button is clicked.
- Paste an image that resides on the Clipboard as the result of a previous copy-to-clipboard.
- Insert a scanned image.
- Drag/drop an image from an open folder directly to the photo cell.
To clear an image from a photo page, click the Clear Picture button.
Replace a photo with a new photo using any of the above methods.
To change the layout, click the Photo Page Kind drop-down list and choose a new layout.
Images must be reloaded into the new layout!
The drag/drop method also works.
There are three ways to import photos to the Photo Page.
1. Copy/Paste
|
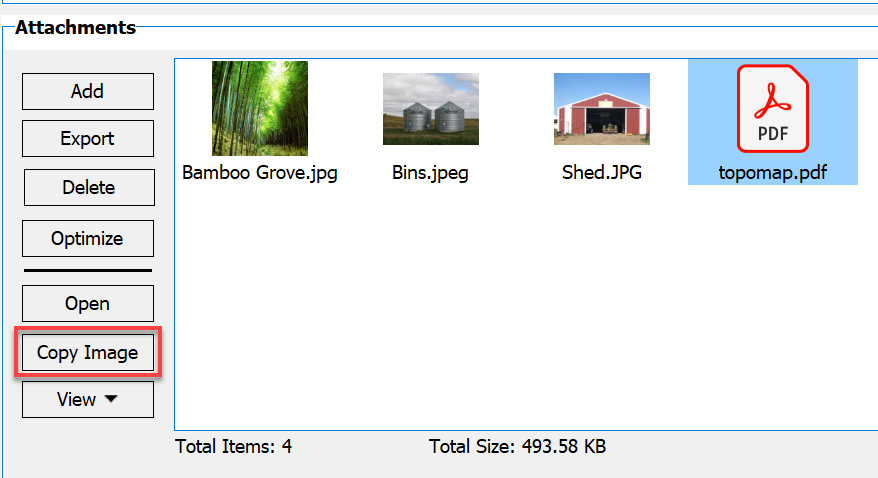
Select photo from the attachments section. Click on Copy Image.
|
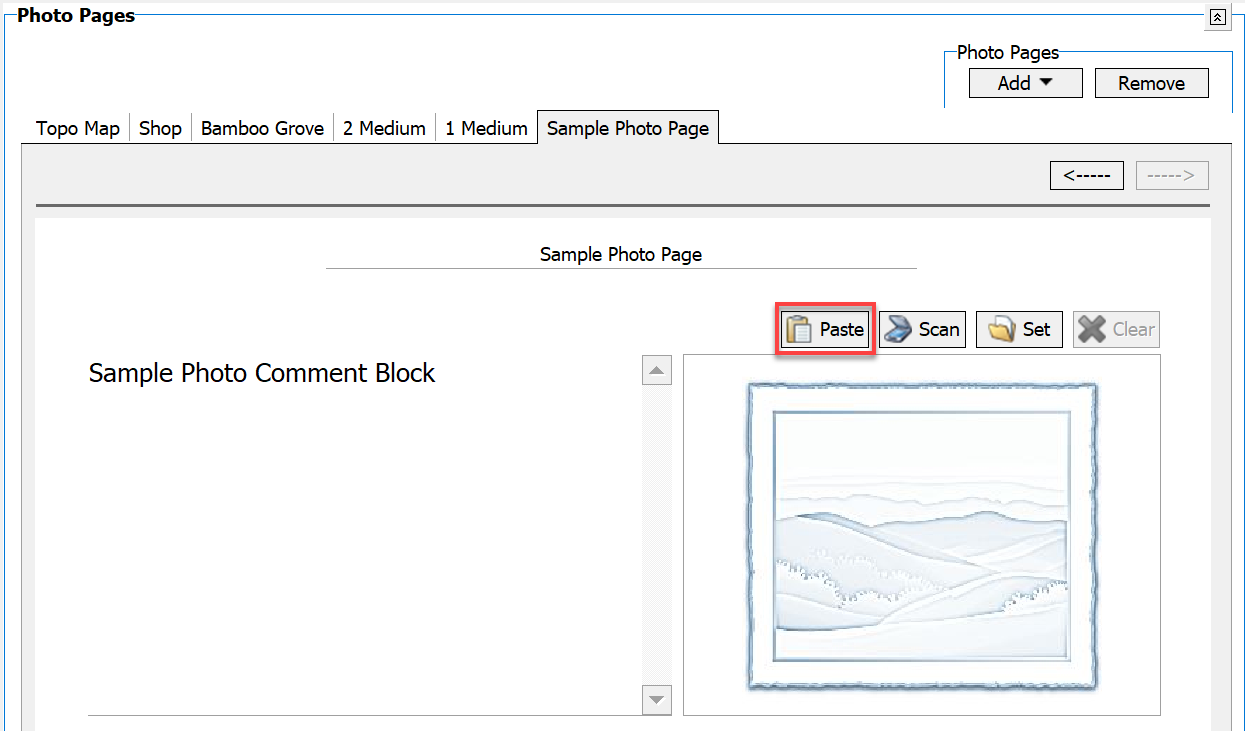
In the Photo Pages section, click on paste.
|
2. Scan
|
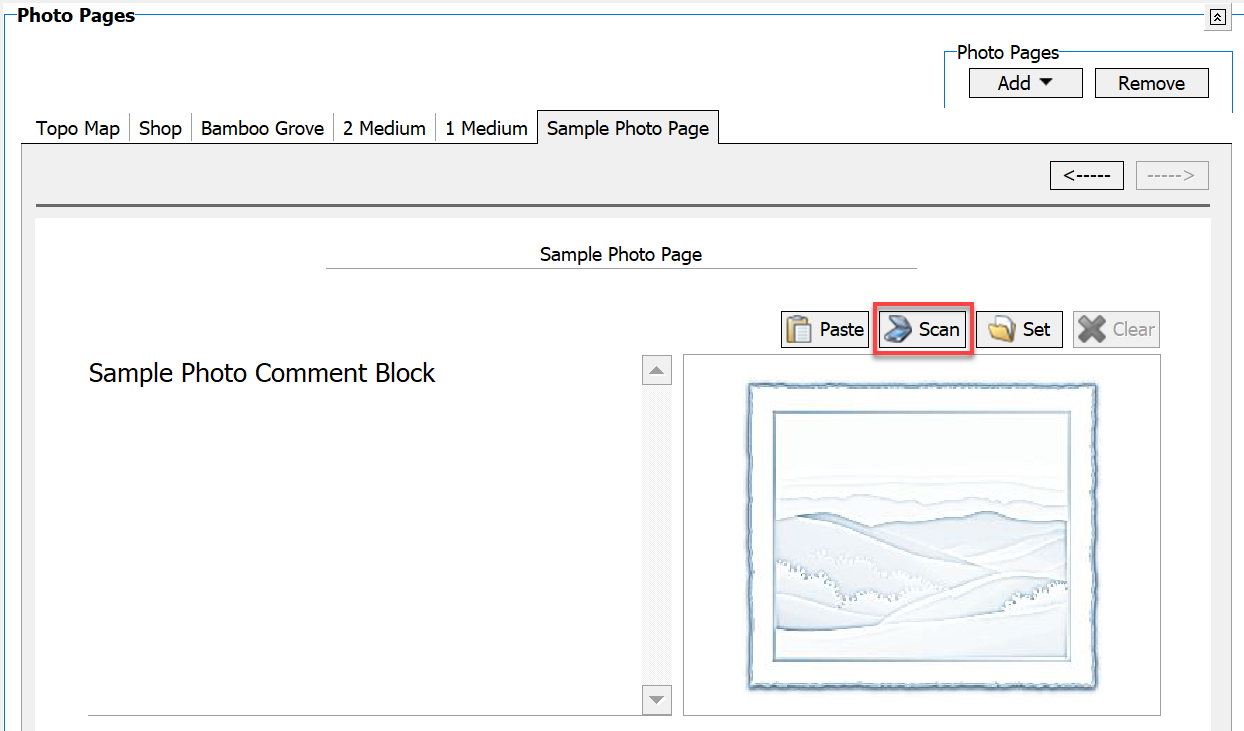
Click on Scan and your default scanner interface will open. Click on scan within your default scanner window to import to Photo Page.
|
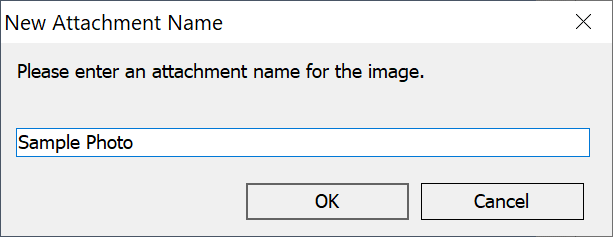
You will be prompted to name the image. Name the Image and click OK.
|
3. Set
|
Click the Set button. Select image and click OK.
|
Select image and click OK. If you want to add from a saved file, click Add to bring up a navigation dialog for the desired image.
|
To clear an image from the photo page, click the Clear Picture button; replace with a new photo. To change the layout, click the Photo Page Kind drop-down list and choose a new layout. Images must be reloaded into the new layout.
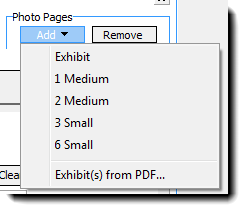
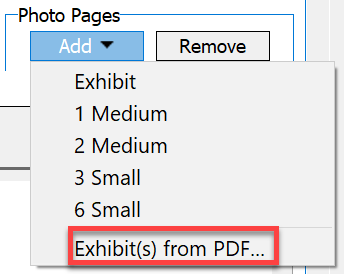
PDF Exhibit Page
To add a multi-page PDF, Choose Exhibit(s) from PDF (Limited to 10 pages).
Individual pages can be deleted after a multi-page PDF has been added; with the page to be removed in view, click the Remove button.
WARNING!!: There is a page limit of 20 total pages for the entire photo pages section of a sale, and a limit of 10 of the 20 pages for PDFs!
Remember to always optimize images in DataLog! This is done in the Attachments section of the sale sheet.